
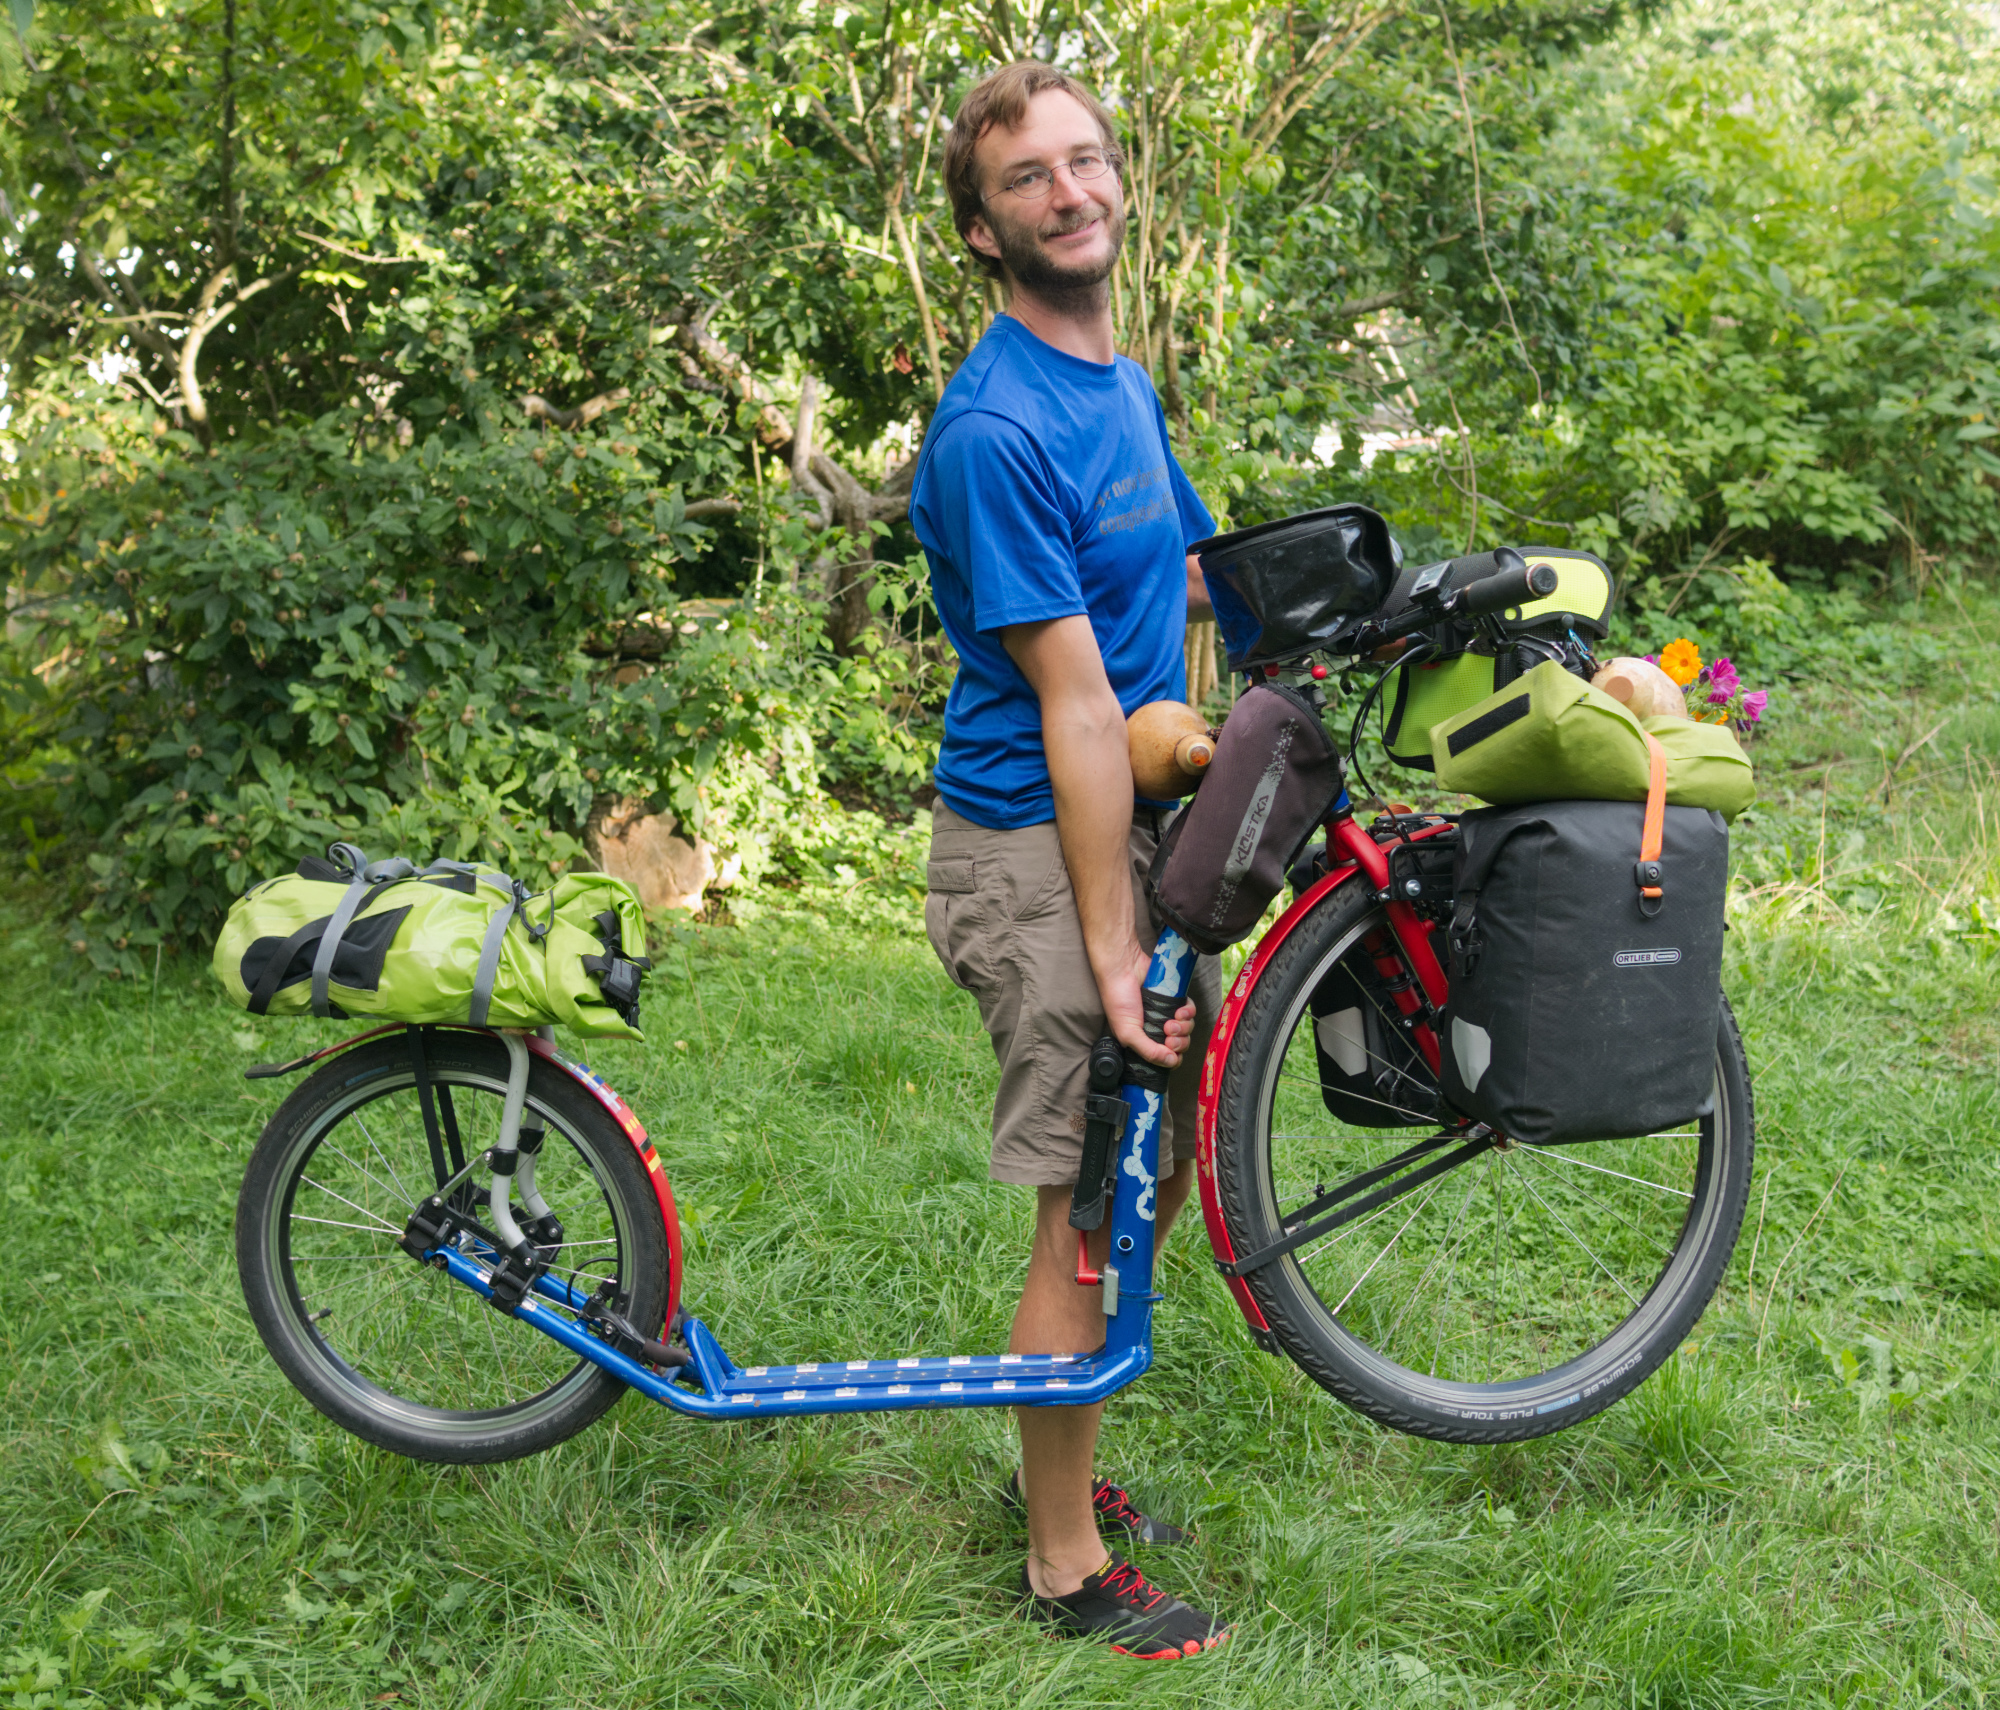
Traveling by train with a 30kg travel kickbike is already a bit complicated. And it gets much worse, exhausting and painful, when you have to lift the kickbike yourself!
In theory, train changing times are sufficient to get a into an elevator, through the underpass, and up the elevator again.
Practically, some elevators are broken or non-existent or you have to be faster than a lift due to train delays. Then I usually carry the kickbike by grabbing it on the frame with one hand. And inevitably the 30kg kickbike slides down slowly through my hand, with one finger after the other hitting the Bowden cable eyelet, leading to a finger release. After fifteen steps I need to re-adjust my hand – inconvenient on crowded stairs and when being in a rush.
Time to fix this! Lets add a decent carrying handle on my footbike!
The initial material I had in mind was handlebar tape for racing bikes.
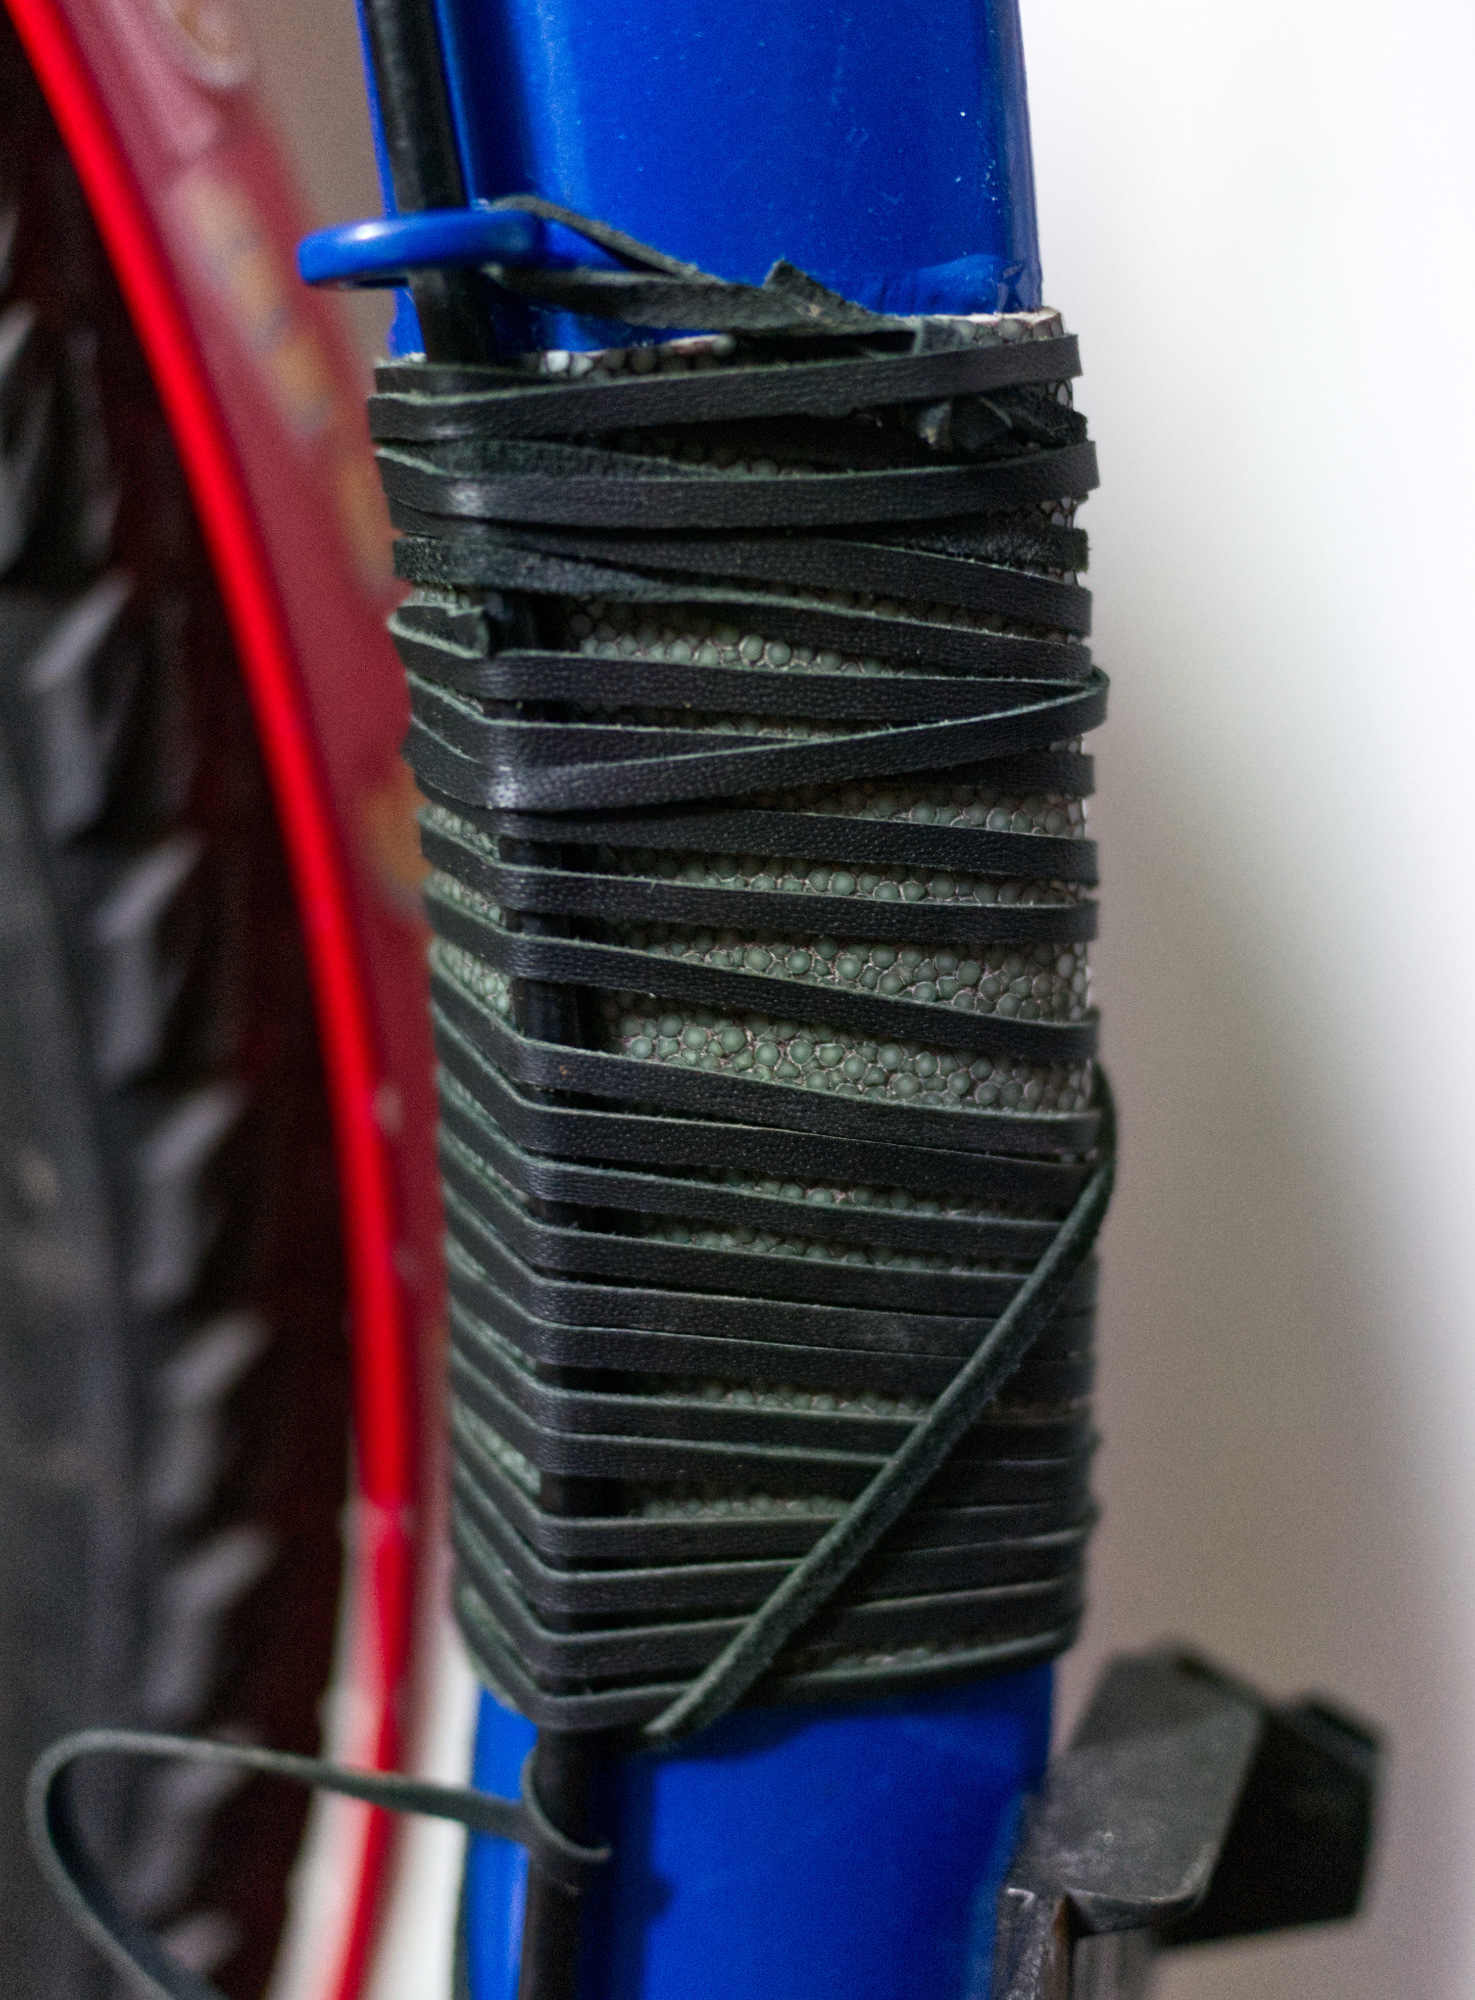
And then I stumbled upon sword bands for Katana hilts. Racing bike handlebar tape appeared crude against that. Whatever the Samurai used for their weapons, it surely is awesome and will solve the problem. 😉
Katana hilt production steps are sufficiently shown in on YouTube:
- The entire Katana making process, with the handle at 9’42“: https://youtu.be/I9a6dFGM-ks?t=581
- The binding technique with a single ribbon: https://www.youtube.com/watch?v=Wyk98J_81jc
- The end knot technique: https://www.youtube.com/watch?v=Wrju-fXy5bQ
The base layer is shagreen, the leather of the Cowtail Stingray. What an awesome material! And luckily also a material that I already had at home.
Dictum does not offer it anymore, I paid around 35€ for a full skin years ago, this project took around a third of it with 15x10cm.
These rays are fished too extensively for their skin, so I may not purchase this material in the future.

I modified the original technique a bit – but only in invisible areas:
- I glued the leather to the frame with 5min-Epoxy. The alignment of the seam was possible in this time and it hardened quickly after the alignment.
- To stick the ribbon on I used simple Pattex. Initially I wanted to go for rabbit skin glue, but skipped it for simplicity.
- I left out the triangularly folded paper under the ribbon. In hindsight I do think that it provides friction to hold the ribbon in place at the pointed edges of the diamonds. I had to align all edges at the end and securely glue them.


I would recommend to grind the pearls with water irrigation! I did not do that and I have the impression that this caused the white insides to get less distinct in contrast. Only bigger pearls seem to be clearly white on the inside.
I planned to clean my dry ground leather with Acetone, but took turpentine substitute by accident. Anyway, it cleaned it nicely, but took longer to evaporate. And I am not sure if it did interfere with the staining color of the leather.
If you water irrigate it during the grinding you will need to dry it maybe in an oven at 60°C for a few hours. I would recommend this now.

When the kickbike slowly slides through my hand, this Bowden cable eyelet collides with the side of my pinky finger, getting more painful every second. Releasing the pinky will get you a few seconds pain release, until the ring finger is hit. Once the pain is in the middle finger you need to take down the kickbike.
The upper end of the ray leather got a loop of black kangaroo leather to avoid an oddly open look at the upmost half diamond. Kangaroo leather is another crafting material, that I happen to have at home. It also served me well at my pilgrim shell.

To get more stability I turned my kickbike upside down.
The sharp edges of the diamond shapes are stretching out further than they should. I am not exactly sure how to avoid this best. I did it eventually with additional glue right into the edges where the ribbon is folded and pushed the ribbon into the wanted position. The original Katana hilt craftsmen use some paper there.

Only the first third of the knot is needed for a kickbicke.
I glued in the ends of the cotton ribbon underneath the knot.

Looks great. Has traditional materials. Is custom-adjusted to my use case. And will hopefully work as a great carrying handle, no matter how sweaty my hands will be.

I hope you enjoyed my solution.
Feel free to leave a comment with feedback, improvements, complaints, other cool projects or love.
Cheers,
Peter
