
Cuddle monsters are cool. And they are not difficult to make and ideal for beginners!
I began sewing cuddle monsters fifteen years ago as a Christmas present series for family and friends. Since then I designed and produced more than twenty cuddle monsters.
In this article I will explain the basic design elements with examples and suggestions.
The article is sorted by the sequence of decisions you have to make during the process. One benefit of monster making is, that it develops over time. You do not need to know what the end result should exactly be when you start.

Benefits: such monsters are always fun! The shape is easy to draw and to sew.
Take care: the thinnest parts of the arms, fingers and feet should be around 2.5cm between the seams. If they are thinner it will be more difficult to turn it from left to right and to stuff it.
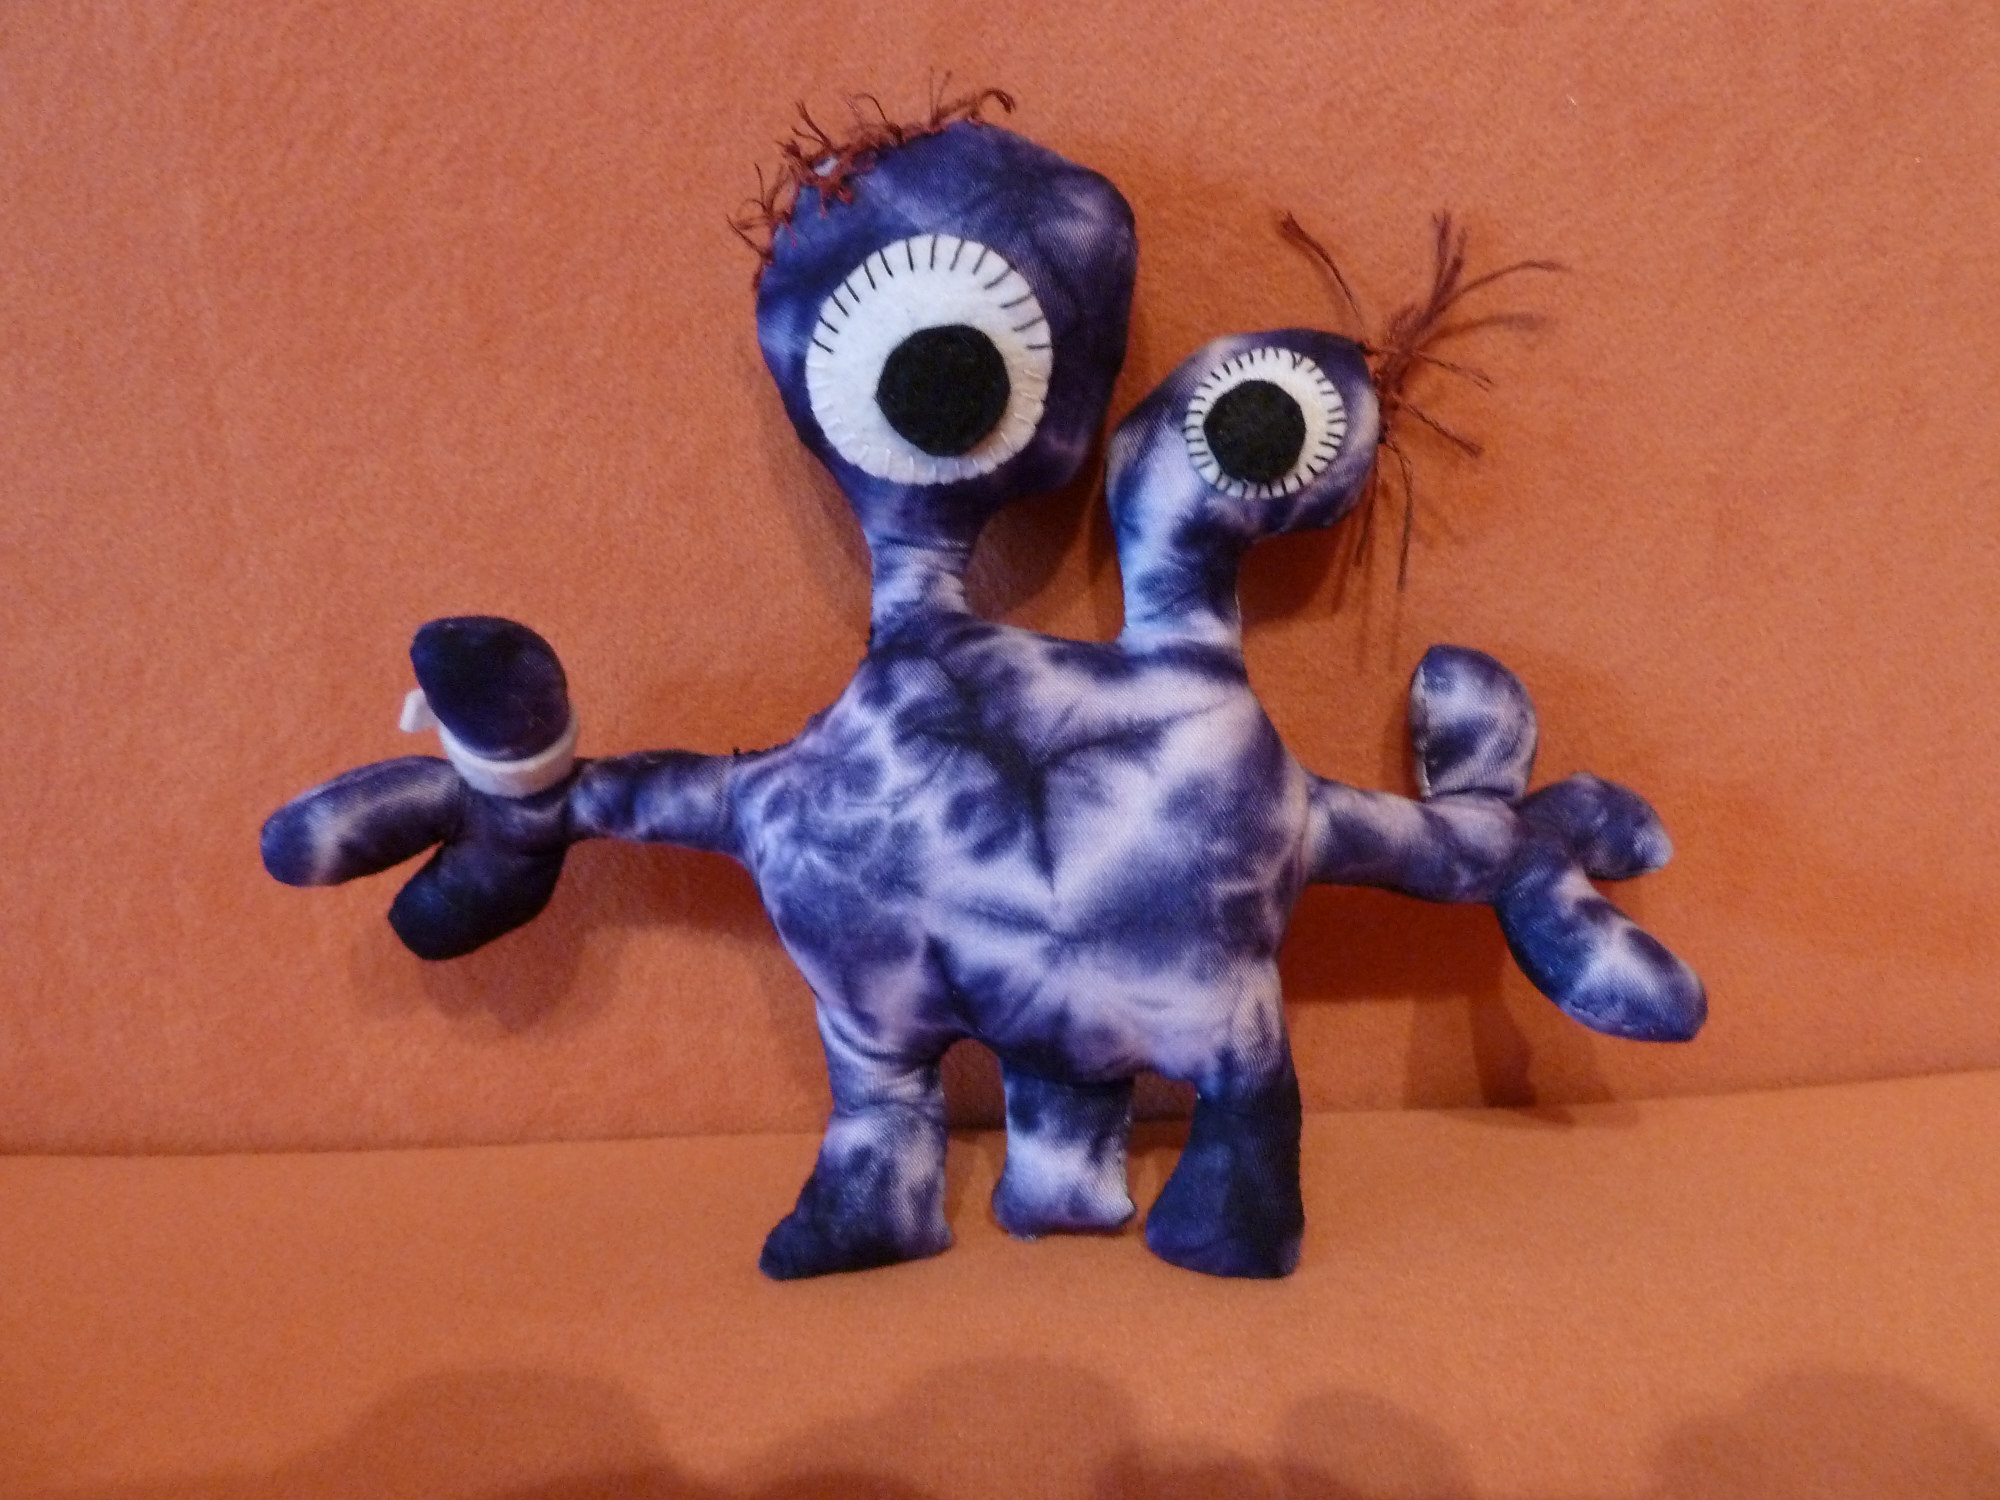
And avoid three legs, they might look odd.

You can sew the arms with thread onto the the main fabric, bit it is fiddly and takes forever. I should do little flat arms and sew them into the main sewing edge.
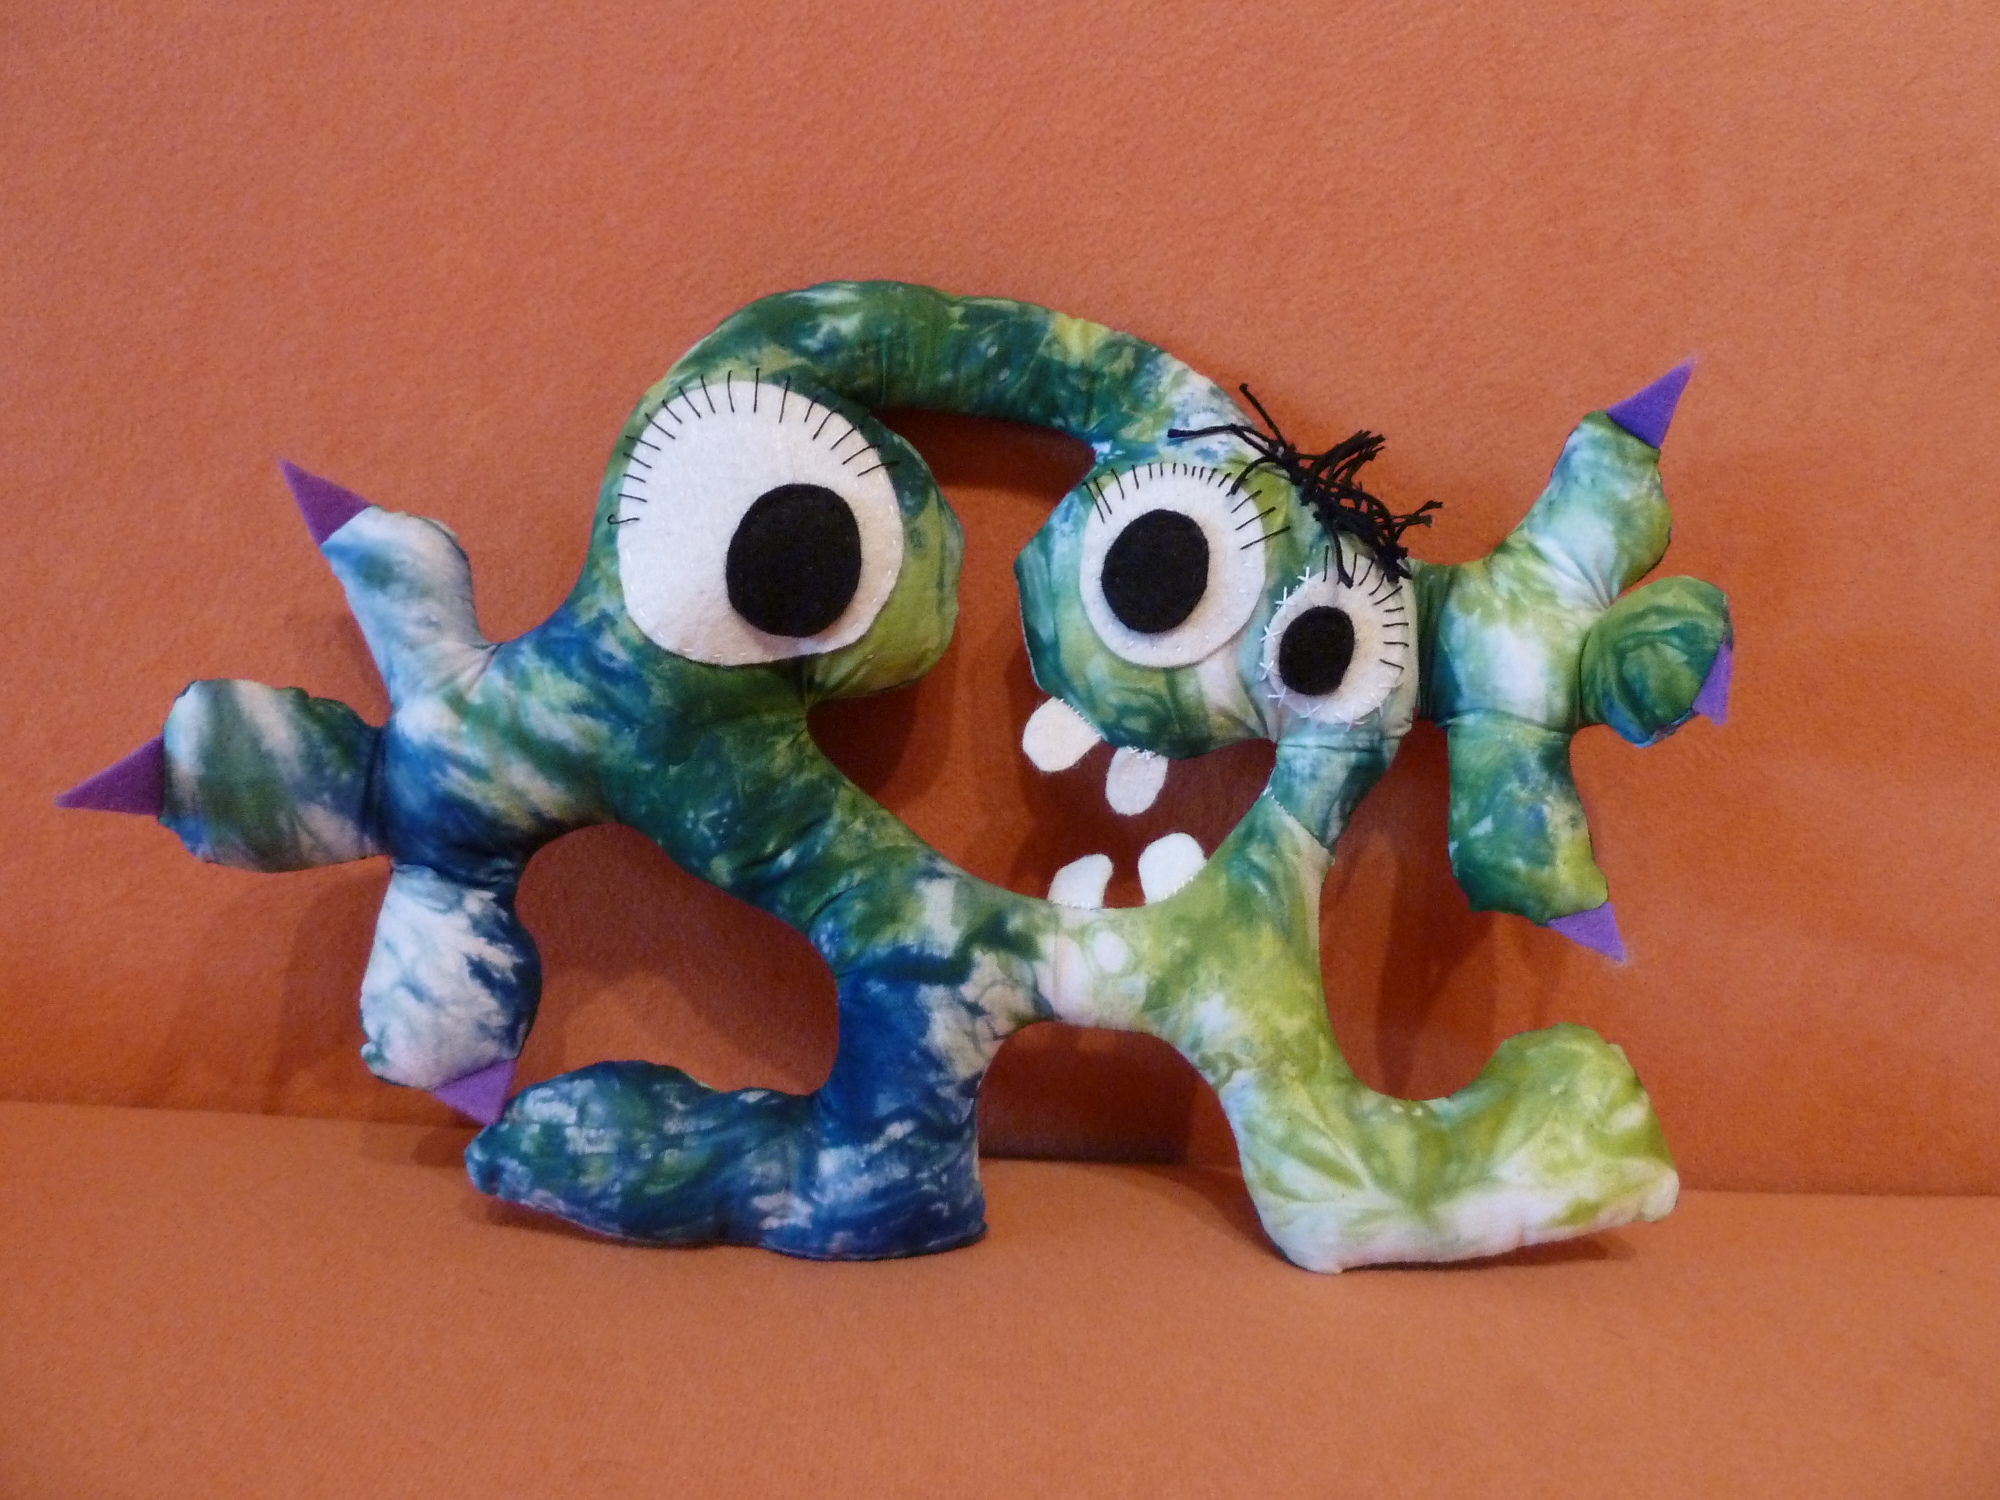
My third general monster style is with a big hole in the middle. They are my favorites because they are the coolest monsters ever!
On the downside, they are more complicated and take longer. Leave the ring in an open c-shape when machine sewing. Once it is stuffed you close it to a ring. That c to o seam can be seen just below the right eye.
This monster has nice claws. Rounder ones are finger nails. They are sewn in with the main seam, pointing into the monster during the sewing.

This is a needle pillow monster I made for my mum, who does a lot of sewing.
This monster had later attached hair. A medium thick thread, stitched through with a needle and knotted together. This method takes forever, and I would not recommend it!
There is another type of finger nails: sew a piece of crescent shaped fabric to the backside of the fingers. Easiest is to leave the raw scissor cut edge and use a zigzag stitch on the machine partly into the nail, partly outside. They can probably very nicely be glued with this magical glue paper layer, but I do not have experience with that. After adding the finger nails to the back half of your monster sew the main seam.
This is closest to normal finger nails. I only very recently started using this technique and cannot find a picture of it right now.


Materials that I use are cut felt, plastic eyes, glass eyes, plastic safety eyes.
To place the eyes as good as possible, I would recommend to do it when the monster is stuffed! If you have safety eyes, do not close the monster before attaching the eyes. But then safety eyes can be great! Recently I bought some safety dragon eyes, and they are just plain cool!
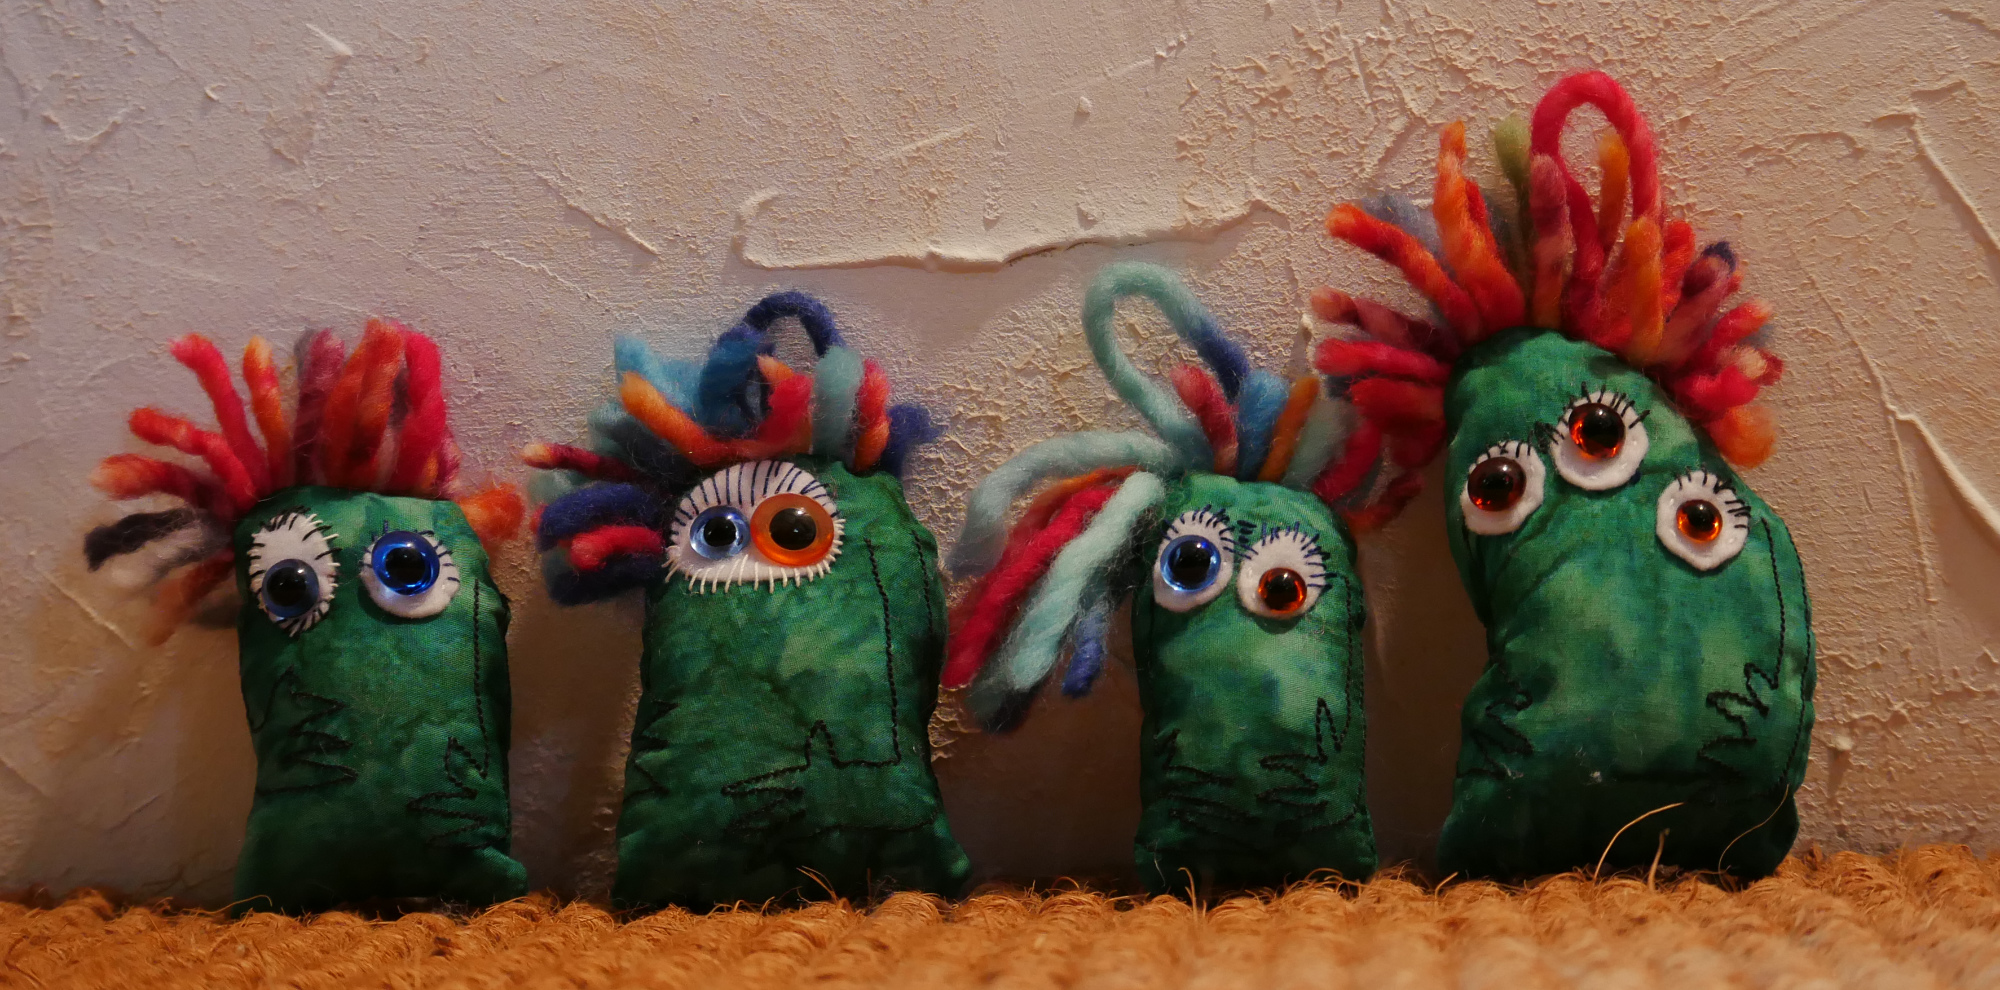
The amount of eyes can be anything. I had one, two, three, even five. Just be aware that each eye is a lot of manual work.
I often do eyes which are quite different size. It adds a quirky look in my opinion.
Apart from the eyes, I do not use applications a lot. Here the bag fitted nicely, because it was a gift to a man who very often wears such a bag.


Made from mammoth ivory. As all mammoths are already extinct, this ivory can be legally traded. Thousands of years of Siberian mud create the color.
The materials I normally use are easily sourced:
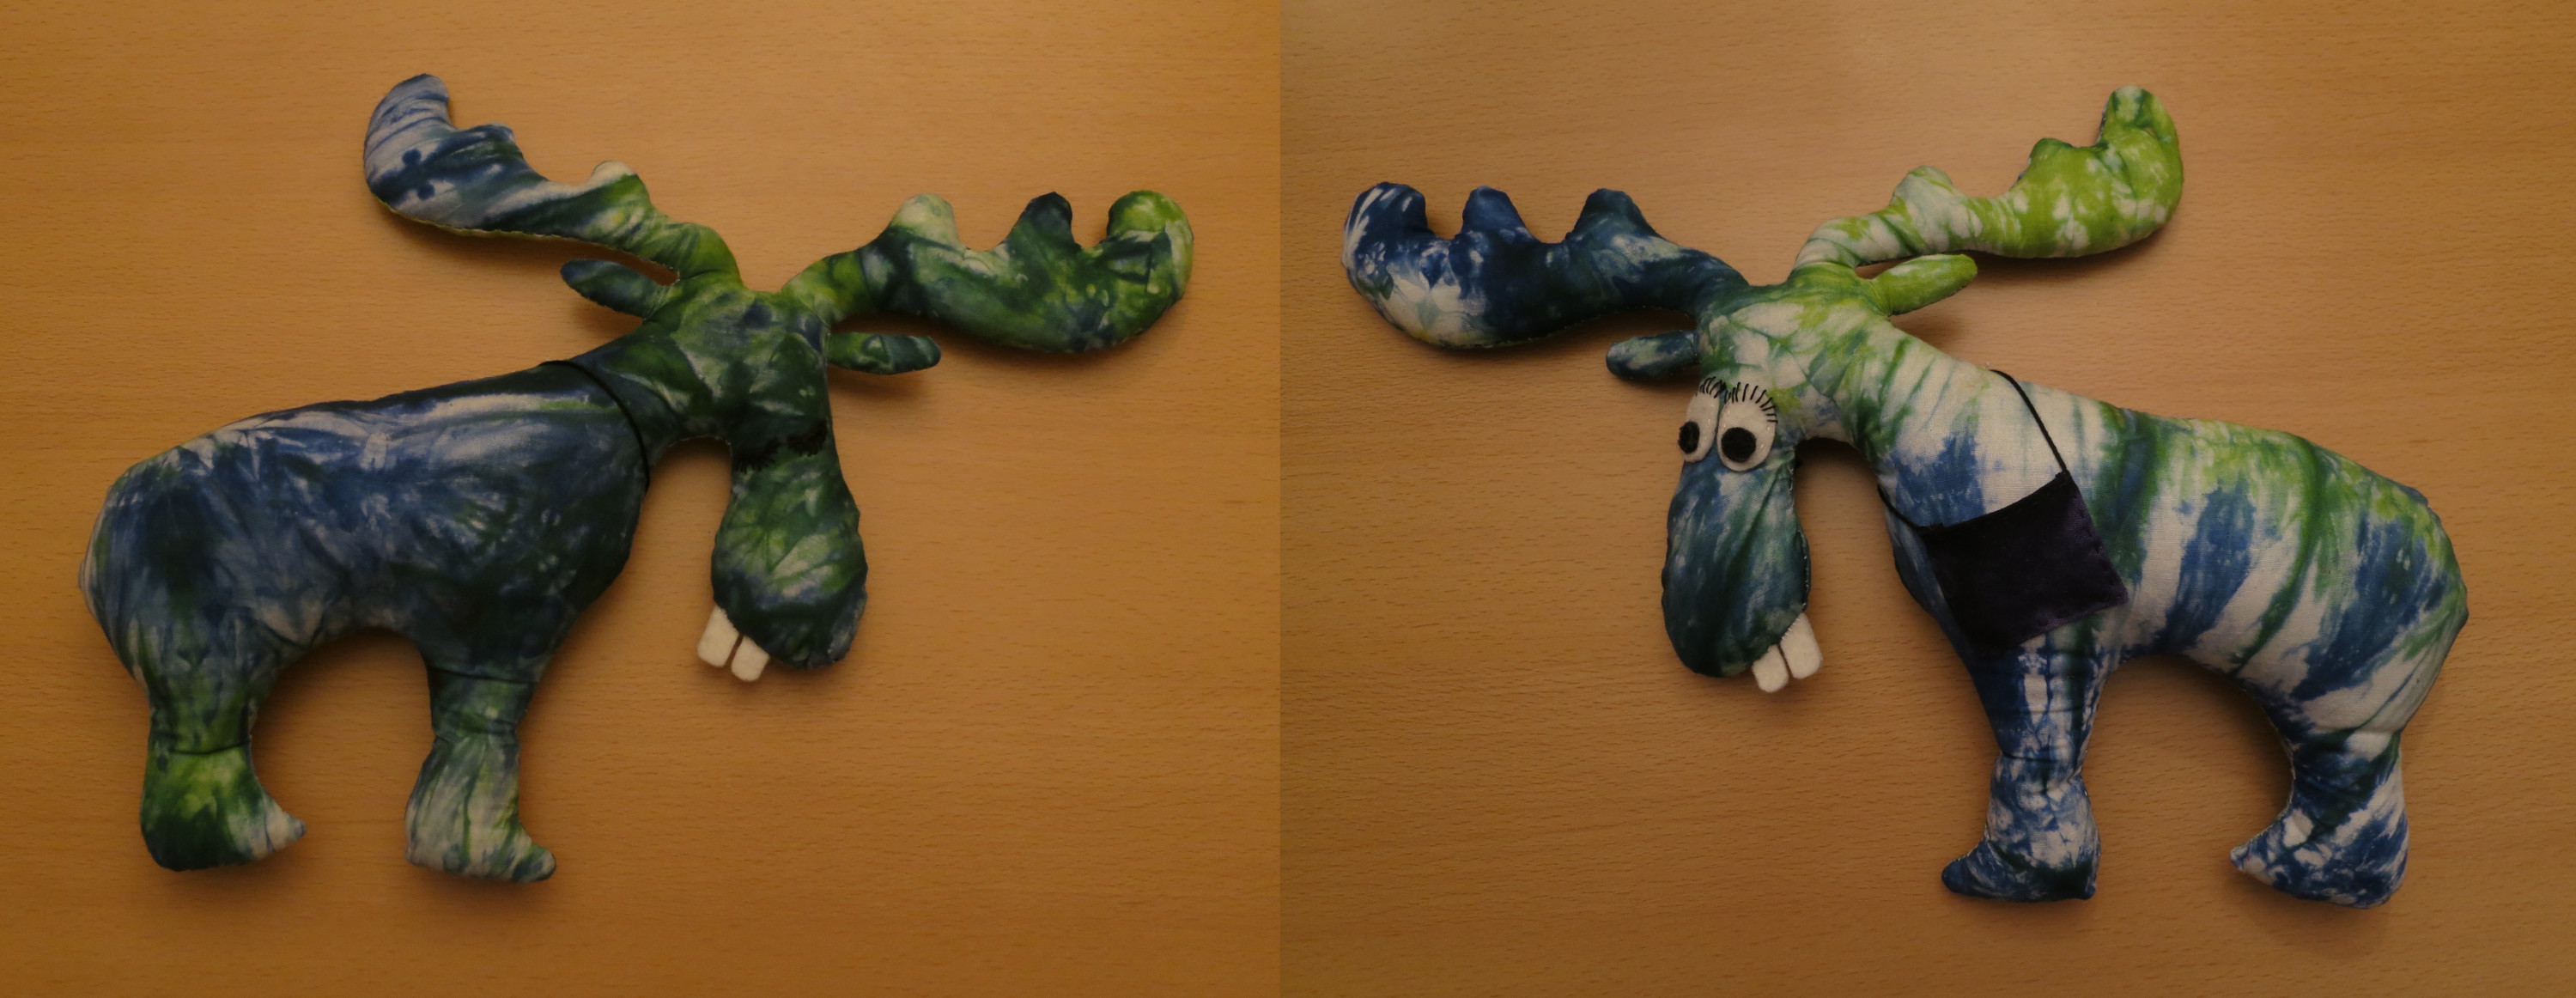
Fabrics: I buy in any sewing shops. I like batik patterns for their vividness.
Stuffing: you can source from old pillows or buy it in the same shop. If you have a choice take the one with short fibres, it is easier to stuff it into the limbs.
Threads: for the machine I do prefer quilting threads ones, because they are medium thick and rupture-proof.
Eyes: for small amounts buy them in the sewing shop.
Sewing machine: any will do. Sewing everything by hand will take an hour longer and should not deter you from doing a monster.
There will be a step-by-step monster sewing instruction at kiwimekko.de soon with me.
I hope you enjoyed the different design ideas for monsters that I work with. For ideas, recommendations, feedback or general love, you can leave a comment.
Cheers,
Peter
